Understanding how to create a resource lock in Azure.
Configure a resource lock
Task 1: Create a resource
Create a storage account.
| Setting | Value |
|---|---|
| Resource group | Create new |
| Storage account name | Enter a unique storage account name |
| Location | Default |
| Performance | Standard |
| Redundancy | Locally redundant storage (LRS) |
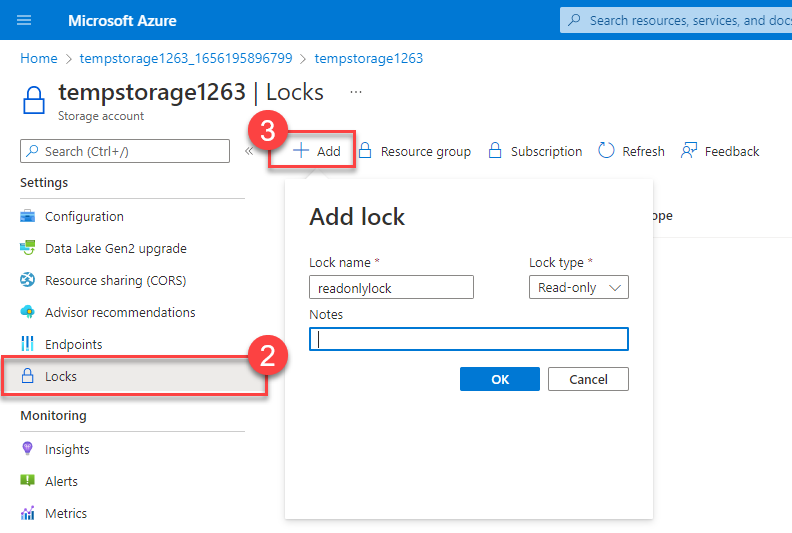
Task 2: Apply a read-only resource lock
Task 3: Add a container to the storage account
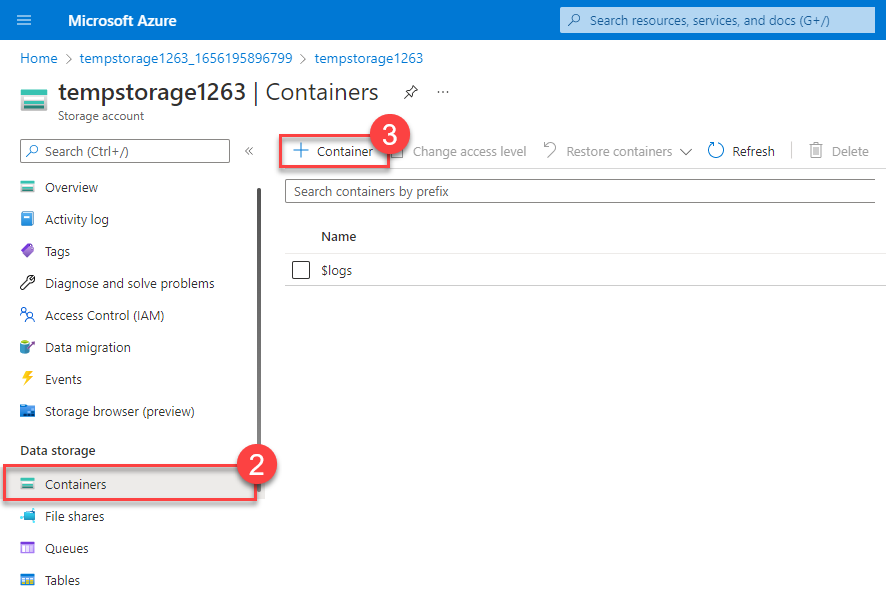
You should receive an error message: Failed to create storage container.

Task 4: Modify the resource lock and create a storage container
Change the lock type to delete
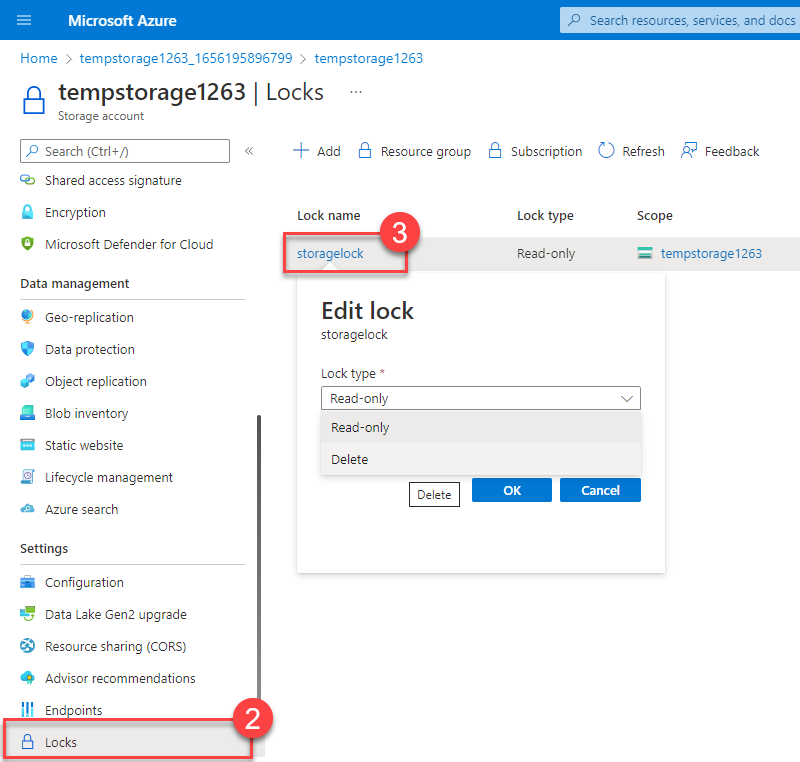
Now, you should be able to create a container.
read-only lock prevented you from adding a container to your storage account.
Once the lock type was changed (or removed), you were able to add a container.
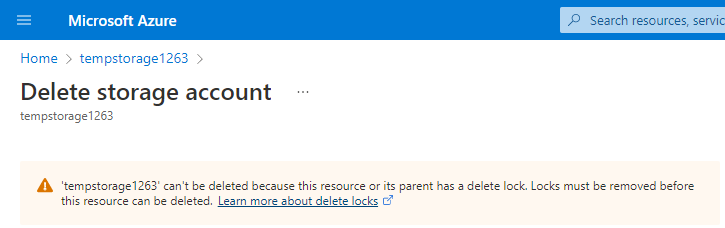
Task 5: Delete the storage account
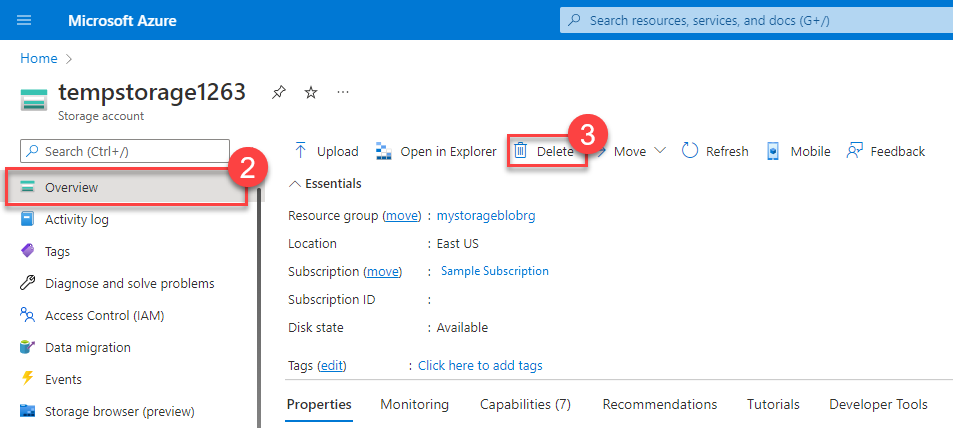
You should get a notification letting you know you can’t delete the resource because it has a delete lock. In order to delete the storage account, you need to remove the delete lock.
Task 6: Remove the delete lock and delete the storage account
Remove the lock, then delete the storage account.
Done !!!